
I-95 1978
photography from the Chesapeake Bay watershed by Bill Emory
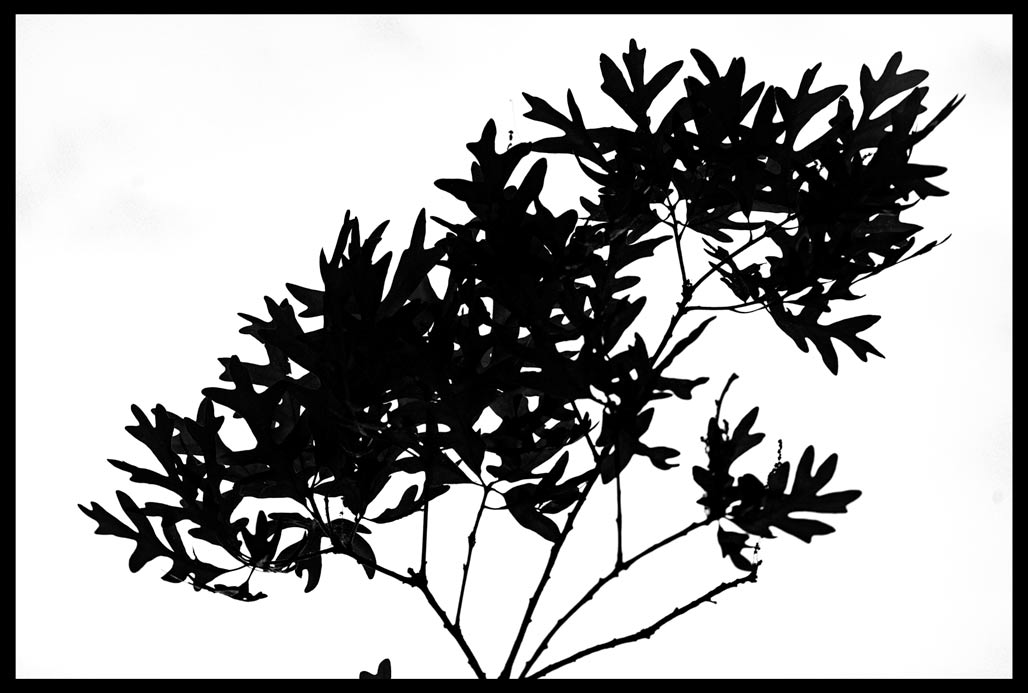
 Its been a dry spring in Virginia. Limited April showers have resulted in challenging conditions for plants. I’ve been drip irrigating juveniles in CHO. In the Tidewater there is a group of a few hundred adolescent trees I look after.
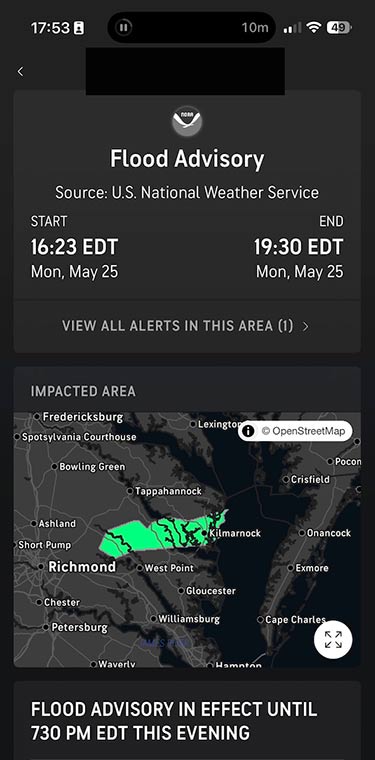 Rain began falling at 1430 hours
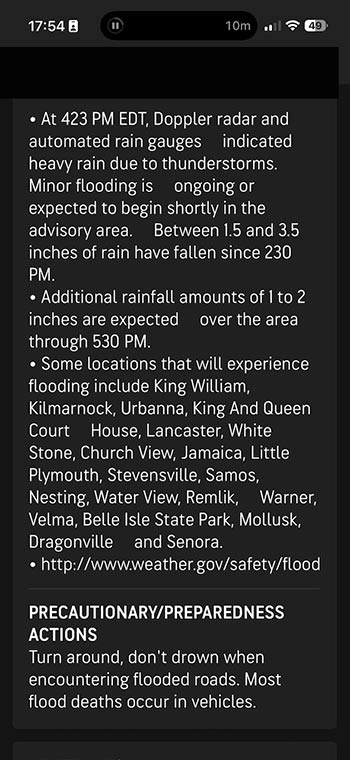 Between 1430 and 1830 six inches of rain came down.
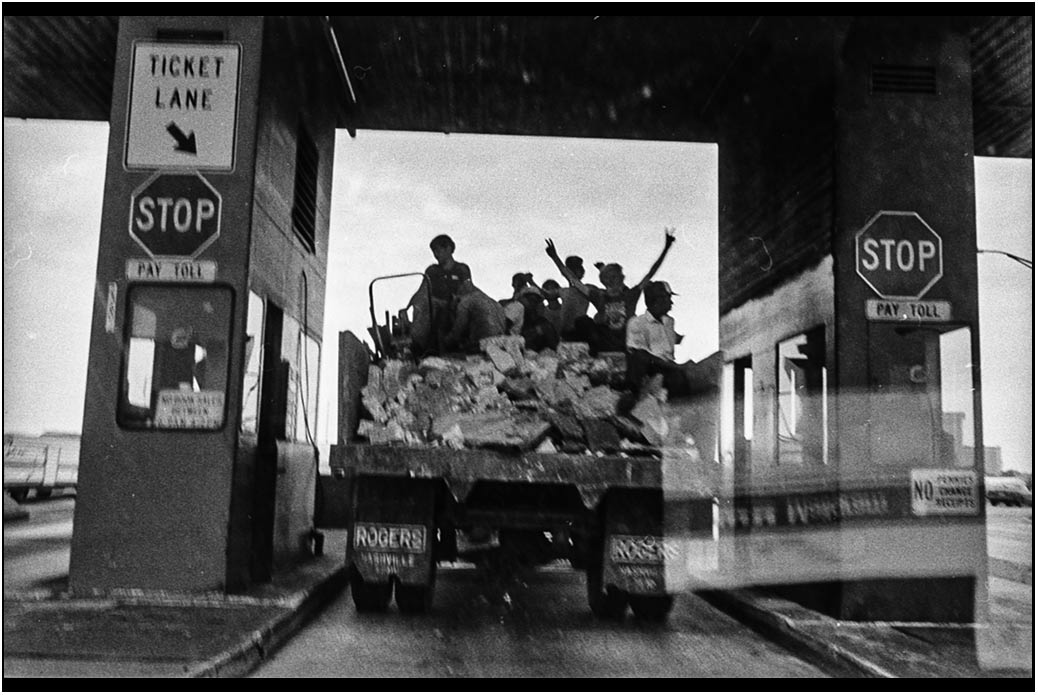
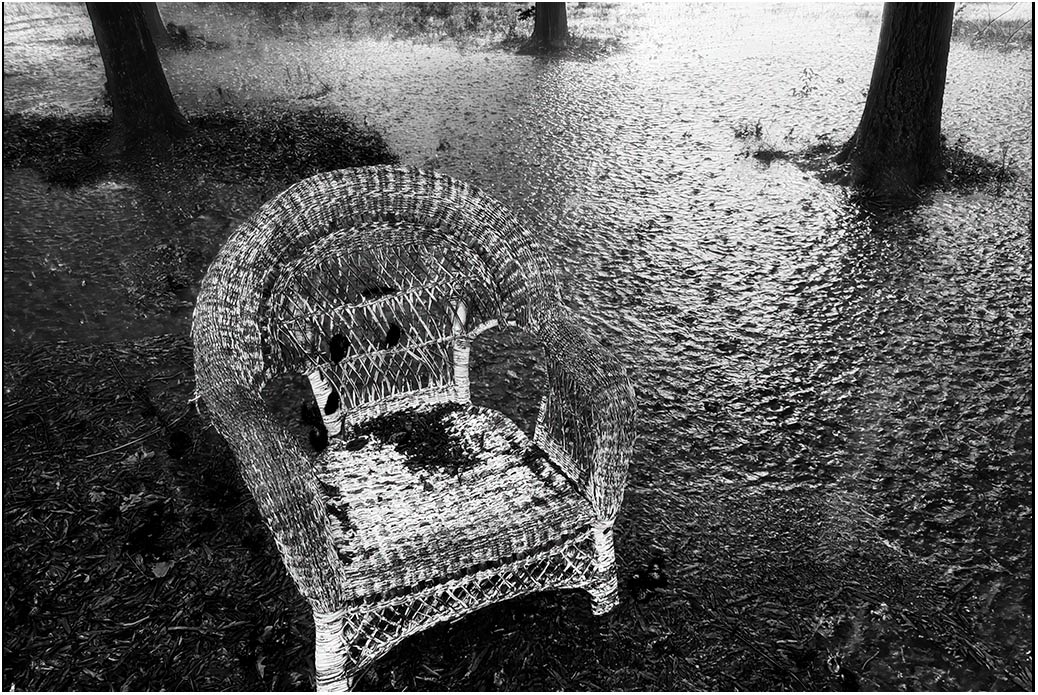 It’s pretty flat in Slabtown.
 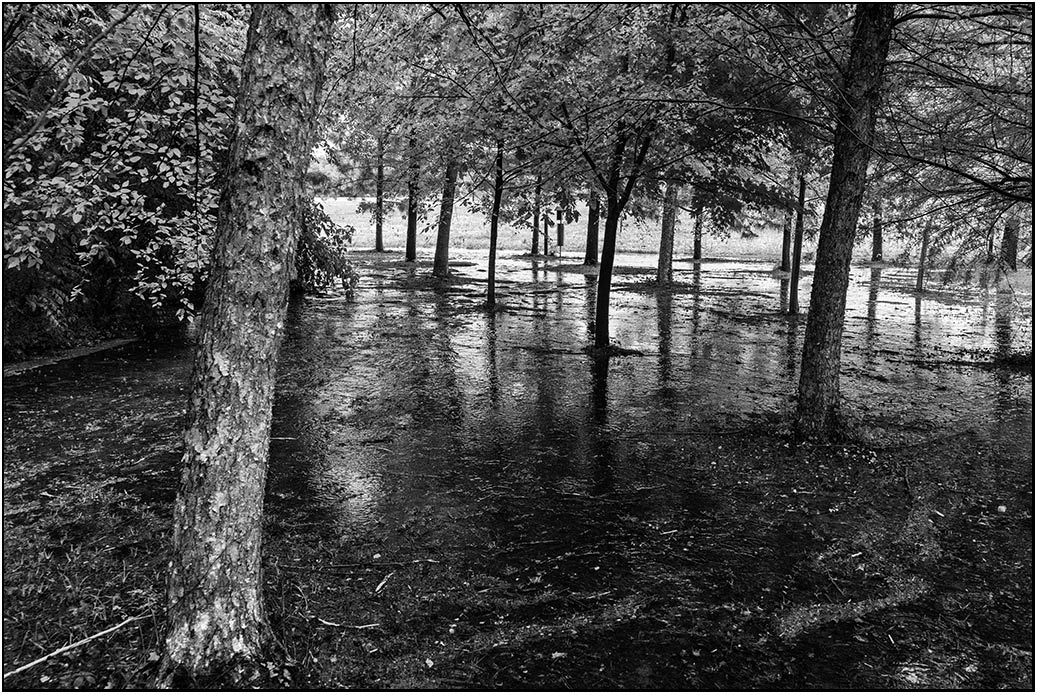 takes awhile to soak in
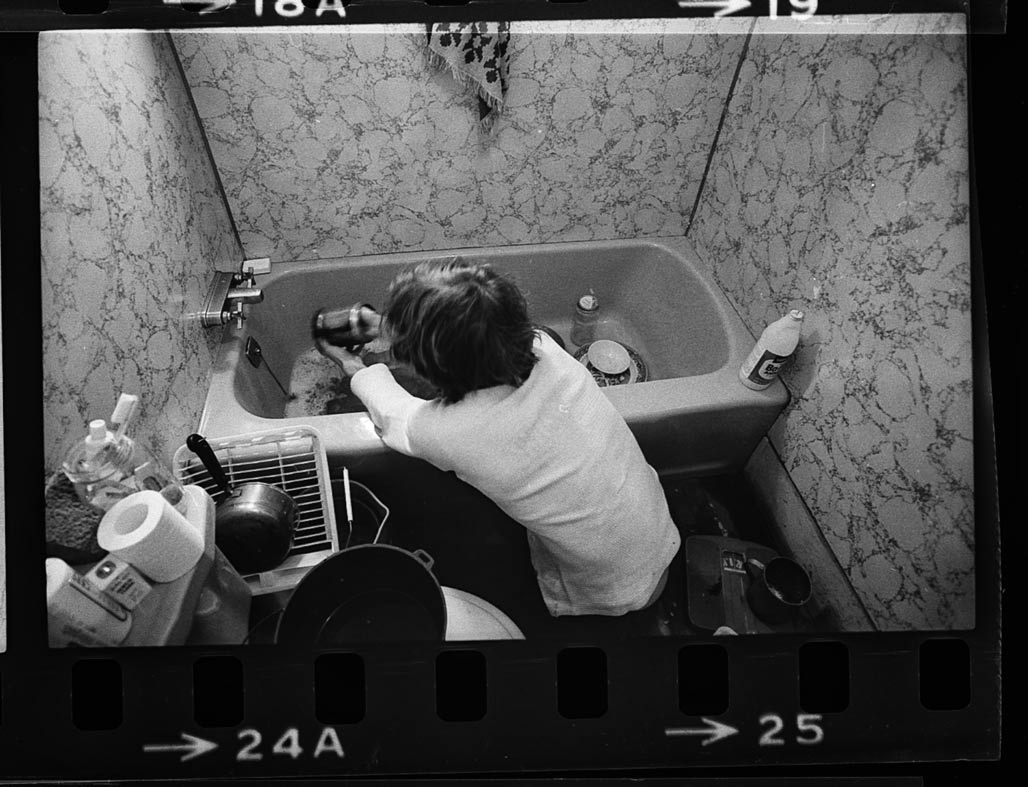
 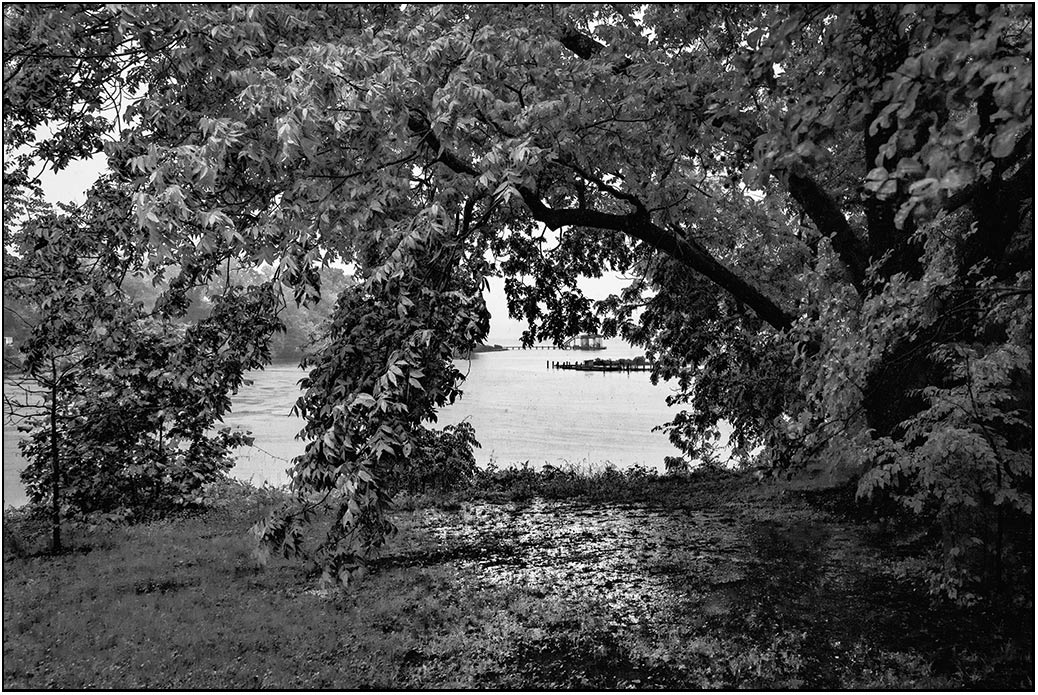 sheet flow in the yard
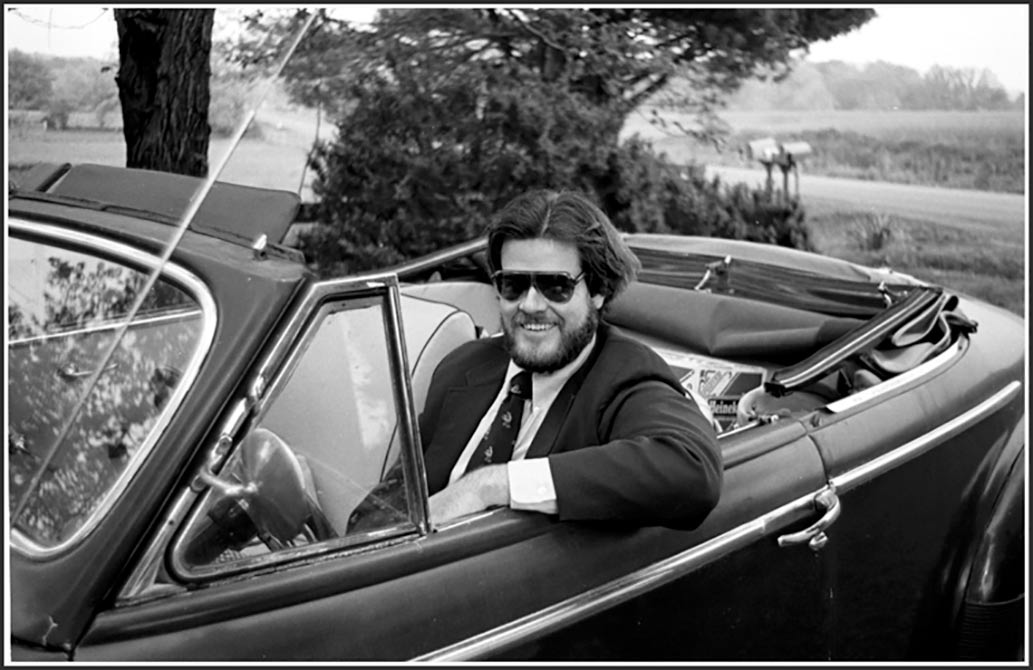
My name is “Henry Watkins (‘Henry’ or ‘Wat’) Ellerson, III,” and I died on May 3, 2026. I tried really hard to stop aging, but it did not work. I was a former lawyer, auctioneer, certified barbecue judge, certified auto mechanic, certified advanced open-water SCUBA diver, Boy Scout aquatic merit-badge counselor, inventor, musician, stand-up comedian, particle-physics dabbler, raconteur, curmudgeon, rabble-rouser, rabid civil libertarian, “liberal” gun owner, Goldwater supporter, Trump hater, secular inhumanist, atheist freethinker, and Certified Hyper-Critic, late of Hadensville, Virginia. I lived and practiced law in Orange, Virginia for 25 years, and I served as a “Special Justice” there, hearing petitions for involuntary mental health treatment. When people asked how I got that job, I told them “It takes one to know one.”
I was born in the first wave of Baby-Boomers on August 19, 1946 in Roanoke Rapids, North Carolina and was educated in the public schools there. I was the son of Frances Thompson Ellerson Watts and H. Watkins Ellerson, Jr., both of whom predeceased me along with my sister, Elizabeth Bryan Ellerson Pasco. I was also predeceased by my step-father, James O. Watts, Jr. and my step-brother, James O. Watts, III. Amazingly, I graduated from Randolph-Macon College, Washington & Lee University Law School, and the auto mechanic’s program at J. Sargeant Reynolds Community College. (I only wanted to be a car mechanic in high school.)
I also completed a course in Creative Writing at University of Virginia, completed the summer Mediation Workshop at Harvard Law School, and I studied computer machine-code programming at Germanna Community College. I also taught Real Estate Law there as an adjunct. I was certified by Virginia Tech for both Planning Commissions and Boards of Zoning Appeals. I p***ed a lot of money away as a principal in the eponymous “EllerSoul Records,” producing and distributing blues music albums.
I am survived by many cousins and by my brother, James P. Ellerson and his wife, Lorraine, my nieces Margaret Lindsey Goebel (and her two children) of Annapolis, Maryland and Frances Page Ellerson, of Brooklyn, New York, my nephew, William Watkins Pasco, a step-nephew, Samuel Pasco, a step-brother, Stephen Watts, a step-sister, Key Watts Giles, a brother-in-law, John Pasco, III and a sister-in-law, Mary Pasco, all of Richmond, Virginia.
I really enjoyed cheap cars, fast likker and hard wimmin. I wasted a lot of time in college and law school listening to my favorite recordings instead of studying. I was an aficionado of the twisted humor of “The Firesign Theatre” and movie director John Waters, as well as the “music” of Root Boy Slim. I came to appreciate and somewhat understand artificial intelligence (“AI”) and particle physics, as well as theoretical mathematics, focusing on the fascinating relationship between the “Golden Mean” and the “Fibonacci Series.” Way back in the early 1970’s, The Firesign Theatre summed up particle physics perfectly with the title to their “(Groucho) Marx & (John) Lennon” album: “How Can You Be In Two Places At Once When You’re Not Anywhere At All?” I was a long-time subscriber to MAD Magazine and was an avid reader of horror comics, especially the 3-D kind, with special glasses. I also subscribed for several years to Science Weekly, The Nation, the National Review and the National Lampoon.
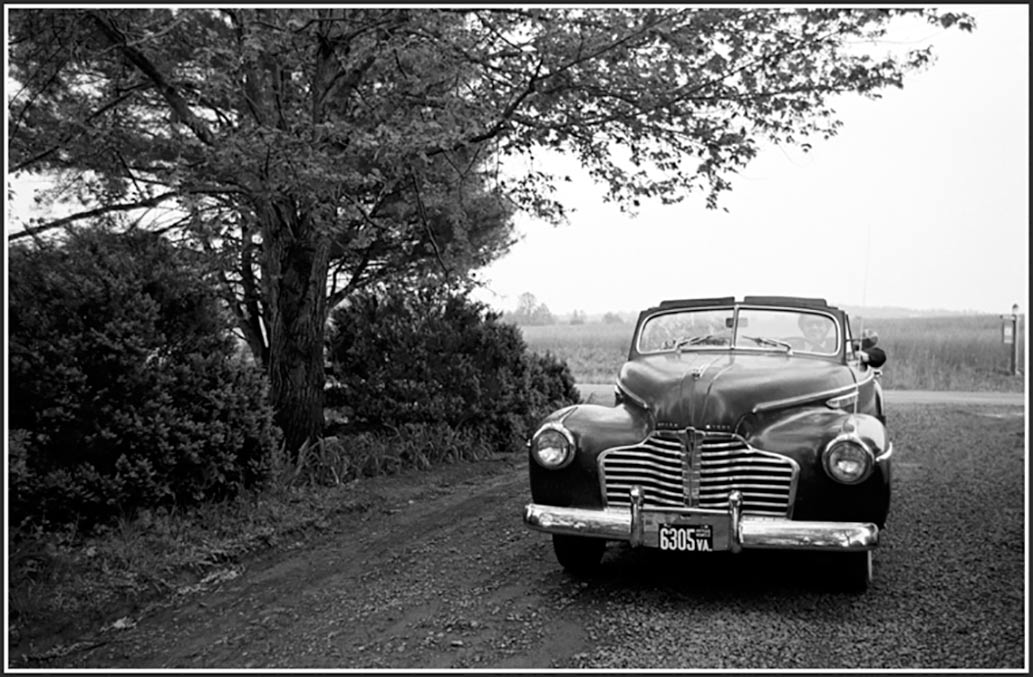
I had many fun “escapades” with motor vehicles. Long after a terrifying night plowing through a soybean field in NC with my “father’s Oldsmobile,” and after a further period away at boarding school in Va., I was informed by my father one evening at the dinner table (where I usually paid dear prices for my “entertainments”) that said Oldsmobile had been “chewing” up tires, so he had taken it to a repair shop. My father was beckoned back into the shop area to look at the underside of his car on a lift. There were dead weeds, dirt and a bent tie rod thereunder. The service manager asked my father, “By any chance do you have a teen-aged son?” It was difficult to maintain a “puzzled” look on my face upon hearing that story!
No funeral service better be expected.
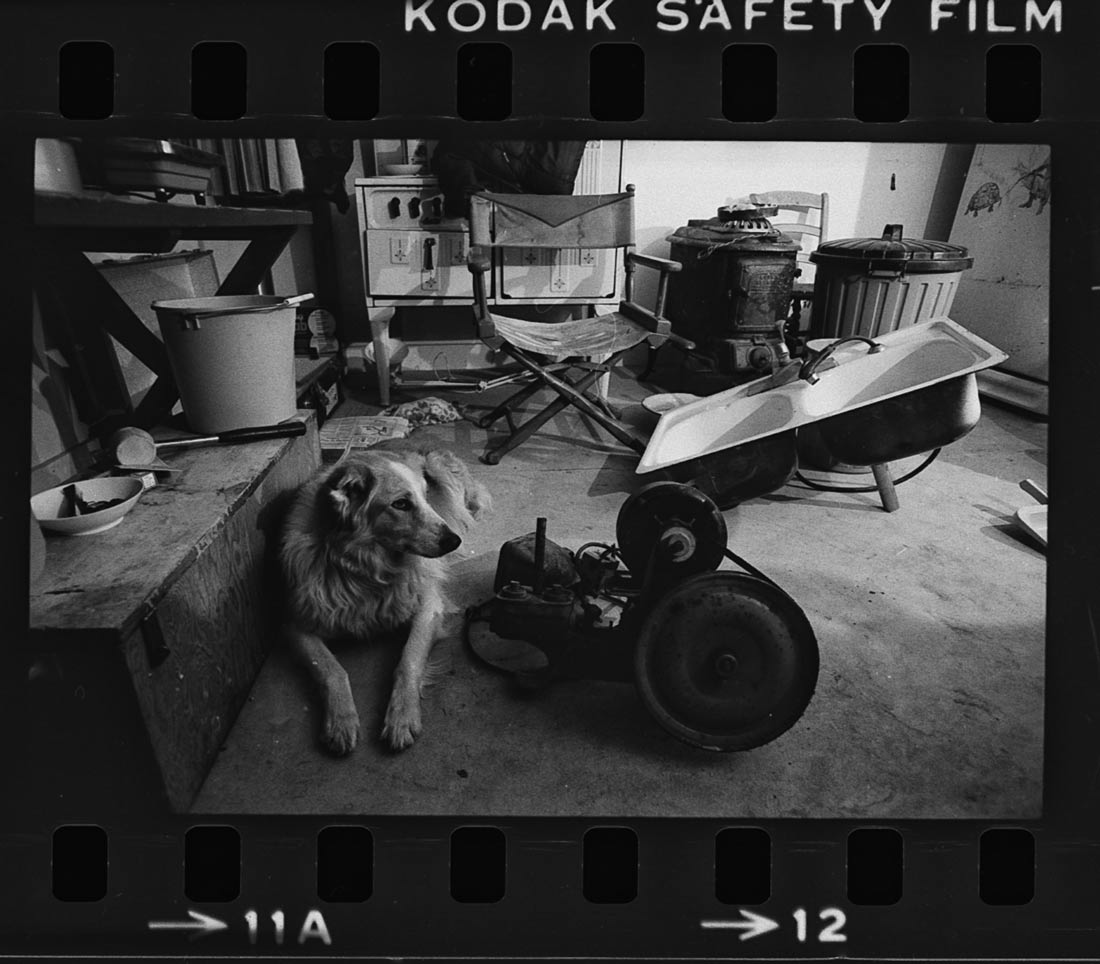
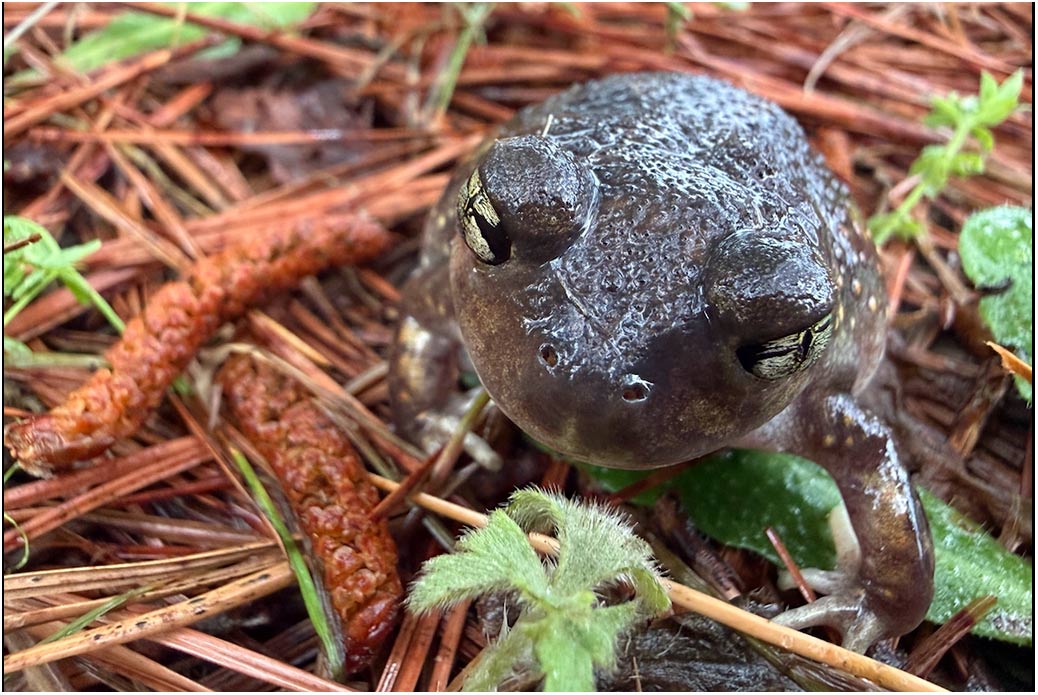 all things wet and wonderful